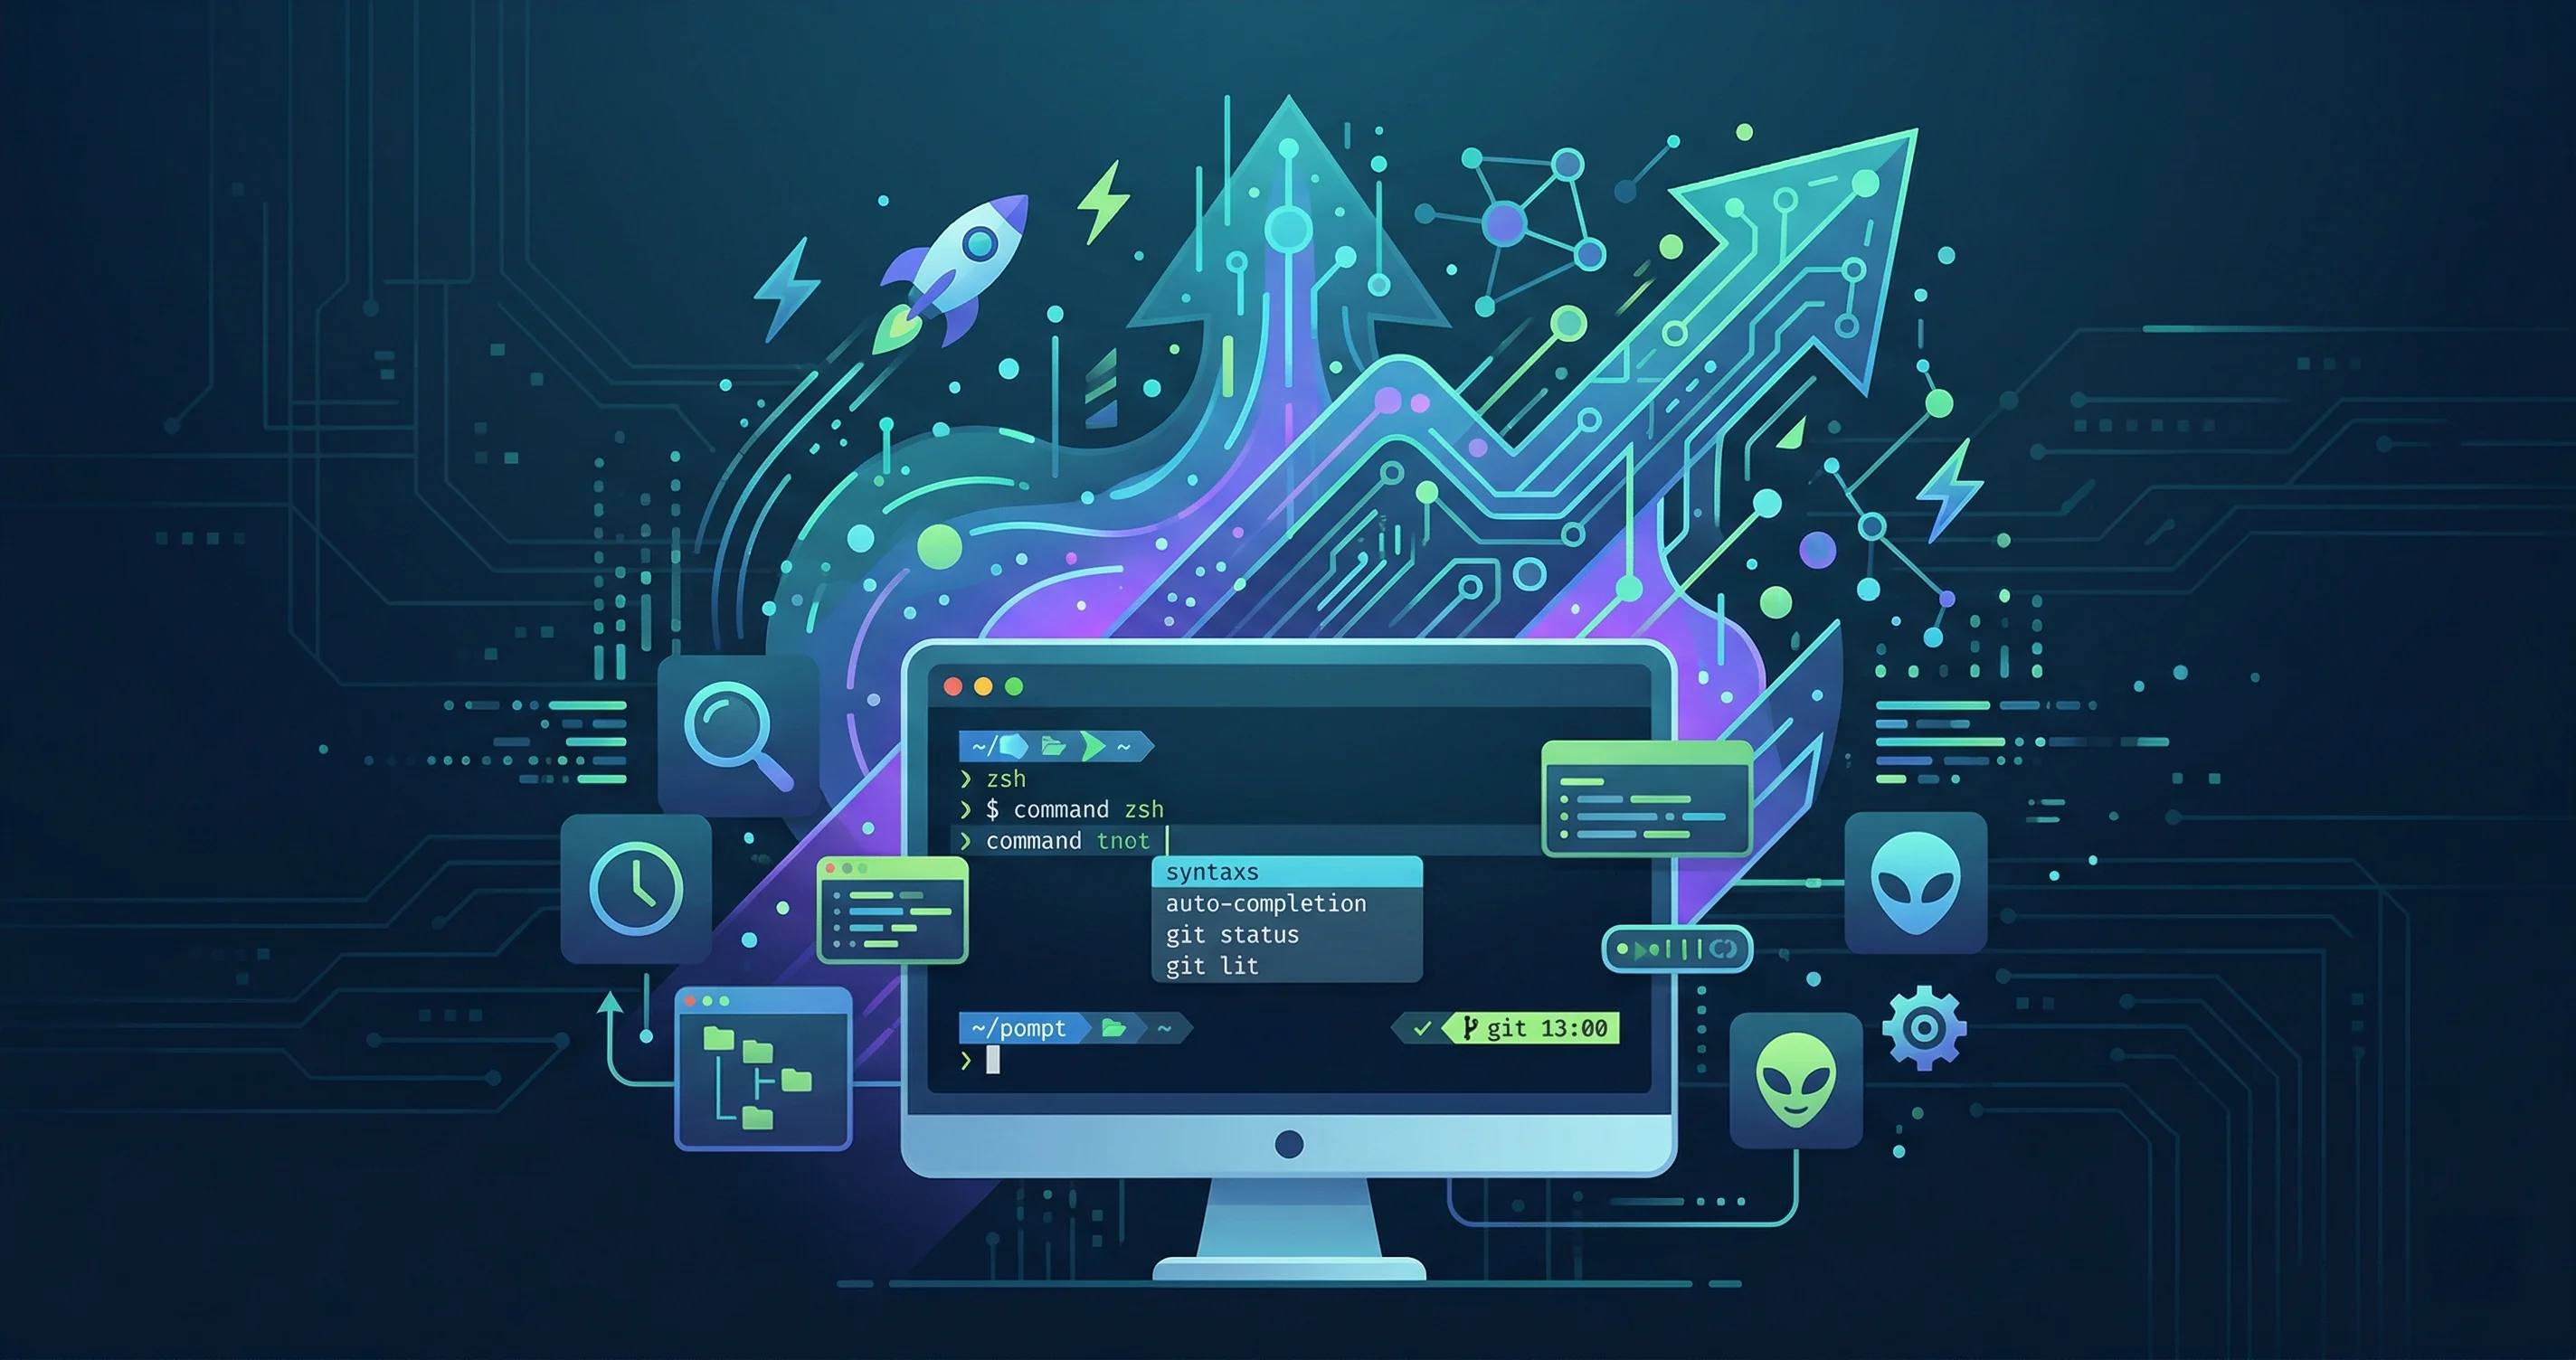
Let’s face it: for many of us, the terminal is home. It’s where we build, deploy, debug, and generally make magic happen. But if your command line still looks like it’s straight out of the 90s, offering nothing more than a blinking cursor on a monochrome background, you’re missing out on a massive opportunity. What if your terminal could not only look stunning but also anticipate your next move, correct your typos, and streamline your workflow with intelligent auto-completion and powerful aliases?
If you’re nodding along, feeling the pang of unfulfilled terminal potential, then buckle up. Today, we’re diving deep into the world of Zsh and its phenomenal sidekick, Oh My Zsh. We’re not just talking about cosmetic upgrades; we’re talking about a fundamental shift in how you interact with your command line, transforming it from a mere utility into a personalized, hyper-efficient productivity hub.
Get ready to reclaim countless keystrokes, eliminate frustrating errors, and make your terminal work for you. By the end of this post, you’ll have the knowledge and steps to supercharge your terminal experience, leaving that bland, default shell in the dust.
Beyond Bash: Why Zsh is Your Next Command Line Upgrade
For years, Bash (Bourne Again SHell) has been the default shell for most Linux distributions and macOS (until recently). It’s robust, reliable, and gets the job done. So, why switch? Think of Bash as a reliable, no-frills sedan – it gets you from A to B. Zsh, on the other hand, is like a high-performance sports car with all the latest tech and customizable interiors. It still gets you from A to B, but with far more style, speed, and comfort.
Zsh, or the Z Shell, is an extended Bourne shell with a vast array of improvements. It incorporates features from ksh, tcsh, and even bash itself, while introducing powerful new capabilities that significantly enhance the interactive command-line experience.
Here are some of the key reasons why developers and tech enthusiasts are flocking to Zsh:
1. Superior Tab Completion
This is often the first feature that hooks people. Zsh’s tab completion isn’t just about finishing directory names; it’s context-aware and incredibly powerful.
- Contextual completion: Type
git checand pressTab. Zsh won’t just completecheckout; it will then list all your available branches! Typesshand pressTab, and it might list known hosts. - Intelligent file completion: If you’re trying to
cdinto a directory that’s nested several levels deep, you can just type a few letters of each directory name and hitTab. For example,cd /u/l/b/acould expand to/usr/local/bin/awesome-app. - Option completion: When you type a command followed by a hyphen (e.g.,
ls -), Zsh can complete the command’s options and arguments, often with helpful descriptions.
This level of intelligent completion dramatically reduces typing errors and speeds up navigation and command execution.
2. Smarter History Search
You’re probably familiar with Ctrl+R in Bash to search your command history. Zsh takes this to another level. By default, with certain plugins enabled, you can simply type a few characters and use your up/down arrow keys to cycle through previous commands that start with those characters. No more Ctrl+R then typing, just natural flow.
3. Advanced Globbing (Wildcard Expansion)
Zsh’s globbing capabilities are far more powerful than Bash’s. You can do things like:
rm **/*.log: Recursively delete all.logfiles in the current directory and its subdirectories. No need forfind . -name "*.log" -delete.ls -d some*(.D): List only directories whose names start with “some”.mv *.(jpg|png) images/: Move all JPEG and PNG files to theimages/directory.
These powerful patterns save you from writing complex find or for loops.
4. Spell Correction
Ever mistyped gti instead of git? Zsh can detect common typos and suggest corrections, or even correct them automatically for you. It’s a small feature but a massive frustration-saver.
5. Path Expansion and Auto-Correction
If you mistype a directory name, Zsh can often correct it for you or suggest the closest match. It also allows you to navigate without typing cd for directory names that are in your PATH.
These built-in features alone are compelling, but Zsh’s true power is unlocked when you pair it with a configuration framework.
Enter Oh My Zsh: Your Terminal’s Best Friend
While Zsh is powerful out of the box, configuring it to unlock its full potential can be daunting. That’s where Oh My Zsh comes in.
Oh My Zsh isn’t a shell itself; it’s a delightful, open-source, community-driven framework for managing your Zsh configuration. Think of it as an operating system for your Zsh shell, packed with thousands of helpful functions, helpers, plugins, and themes. It makes customizing your Zsh setup incredibly easy, allowing you to focus on using your terminal rather than endlessly tweaking configuration files.
Why Oh My Zsh is a Game Changer:
- Simplified Configuration: Instead of writing complex Zsh scripts from scratch, you enable features by listing them in a simple configuration file.
- Vast Ecosystem of Plugins: Oh My Zsh comes bundled with hundreds of plugins for popular tools like Git, Docker, Python, Node.js, AWS, and more. These plugins add aliases, functions, and advanced auto-completion specific to those tools.
- Stunning Themes: Transform your terminal’s appearance with beautiful themes that can display information like your current Git branch, execution time, battery status, and more, right in your prompt.
- Active Community: With a massive and active community, you’ll find endless resources, new plugins, and themes, ensuring your Zsh setup stays modern and powerful.
Let’s look at some popular Oh My Zsh features that can dramatically boost your terminal productivity.
Themes That Inform and Inspire
Oh My Zsh themes aren’t just pretty; they’re functional. They can provide immediate visual feedback on your environment.
robbyrussell: The default theme, clean and simple, showing your current directory and Git status.agnoster: A very popular theme that uses powerline symbols to create visually distinct segments in your prompt. It clearly shows your user, host, current directory, and Git branch status. Requires a powerline-compatible font.powerlevel10k: The pinnacle of Zsh themes. It’s incredibly fast, highly customizable, and features an absurd amount of dynamic information, including current Git branch, status, staged/unstaged changes, current Kubernetes context, CPU load, battery, and much more. It requires a specific powerline font (Nerd Fonts).
Choosing the right theme can give you a dashboard-like view of your project at a glance, saving you from running separate commands to check status.
Plugins That Turbocharge Your Workflow
The real power of Oh My Zsh lies in its plugin ecosystem. Here are a few must-have plugins and what they do:
git: This plugin is so good, it’s enabled by default. It provides a plethora of useful Git aliases (e.g.,gsforgit status,gaforgit add,gcoforgit checkout), and powerful auto-completion for Git commands, branches, and remotes.zsh-autosuggestions: This fantastic plugin suggests commands as you type, based on your history. The suggestion appears grayed out, and you can accept it by pressing the right arrow key. It’s like an autocomplete feature for your entire terminal history.zsh-syntax-highlighting: This plugin provides syntax highlighting for your shell commands as you type them. Commands appear green if they’re valid and red if they’re not, helping you spot typos before you even hit Enter.web-search: Search directly from your terminal! For example,google how to install zshorddg zsh plugins.docker/kubectl/aws/npm/yarn: These specialized plugins provide intelligent auto-completion and aliases for their respective tools, making complex commands easier to type and less prone to errors.
By combining Zsh’s inherent power with Oh My Zsh’s management and extensive collection of themes and plugins, you create a command-line environment that is not only visually appealing but also incredibly efficient.
Getting Started: Your Zsh & Oh My Zsh Journey
Ready to transform your terminal? Let’s walk through the practical steps to set up Zsh and Oh My Zsh.
Step 1: Install Zsh
Zsh is usually available in your system’s package manager.
- macOS: Zsh is the default shell from Catalina (macOS 10.15) onwards. If you’re on an older version, you might need to install it via Homebrew:
brew install zsh - Linux (Ubuntu/Debian):
sudo apt update sudo apt install zsh - Linux (Fedora):
sudo dnf install zsh - WSL (Windows Subsystem for Linux): Just use the Linux commands for your chosen distribution.
Step 2: Make Zsh Your Default Shell
Once installed, you need to tell your system to use Zsh instead of Bash (or whatever your current default is).
chsh -s $(which zsh)You’ll be prompted for your password. After executing this, you’ll need to log out and log back in (or simply restart your terminal session) for the changes to take effect. You can verify Zsh is your default by opening a new terminal and typing echo $SHELL, which should output /bin/zsh or /usr/bin/zsh.
Step 3: Install Oh My Zsh
With Zsh set up, installing Oh My Zsh is a one-liner. You can use either curl or wget:
Using curl:
sh -c "$(curl -fsSL https://raw.githubusercontent.com/ohmyzsh/ohmyzsh/master/tools/install.sh)"Using wget:
sh -c "$(wget -qO- https://raw.githubusercontent.com/ohmyzsh/ohmyzsh/master/tools/install.sh)"This script clones the Oh My Zsh repository, backs up your existing ~/.zshrc (if it exists), and creates a new one with the Oh My Zsh configuration. It will then automatically open Zsh in your terminal.
Step 4: Customize Your .zshrc
The heart of your Zsh configuration is the ~/.zshrc file. Open it with your favorite text editor:
nano ~/.zshrc # Or vim ~/.zshrc, code ~/.zshrc, etc.Changing Your Theme
Look for the line ZSH_THEME="robbyrussell". Change "robbyrussell" to your desired theme. For example:
ZSH_THEME="agnoster"After saving the file, apply the changes by running:
source ~/.zshrcOr simply open a new terminal tab/window.
Enabling Plugins
Find the line that starts with plugins=(...). By default, git is enabled. You can add more plugins here, separated by spaces.
Let’s add zsh-autosuggestions and zsh-syntax-highlighting to start:
plugins=(
  git
  zsh-autosuggestions
  zsh-syntax-highlighting
  # docker # uncomment or add for docker-specific features
  # kubectl # for Kubernetes
  # web-search # for quick web searches
)
Important Note for zsh-autosuggestions and zsh-syntax-highlighting: These popular plugins often need to be manually cloned into your ~/.oh-my-zsh/custom/plugins directory before being enabled in .zshrc.
To install zsh-autosuggestions:
git clone https://github.com/zsh-users/zsh-autosuggestions ${ZSH_CUSTOM:-~/.oh-my-zsh/custom}/plugins/zsh-autosuggestionsTo install zsh-syntax-highlighting:
git clone https://github.com/zsh-users/zsh-syntax-highlighting.git ${ZSH_CUSTOM:-~/.oh-my-zsh/custom}/plugins/zsh-syntax-highlightingOnce cloned, add them to your plugins=(...) array in .zshrc as shown above, then source ~/.zshrc.
Step 5: Install a Powerline Font (for agnoster, powerlevel10k, etc.)
If you chose a theme like agnoster or plan to use powerlevel10k, you’ll notice some strange characters or question marks in your prompt. This is because these themes use special “Powerline” symbols that standard fonts don’t include. You’ll need to install a Nerd Font.
- Download a Nerd Font: Visit Nerd Fonts and download your preferred font (e.g.,
HackorFiraCode). - Install the Font: Double-click the
.ttffiles to install them on your system. - Configure Your Terminal Emulator: Open your terminal’s preferences/settings and change the font to the Nerd Font you just installed (e.g., “Hack Nerd Font Regular”).
Step 6: Configure Powerlevel10k (Optional but Highly Recommended)
If you’re looking for the ultimate theme, powerlevel10k is it.
- Install Powerlevel10k:
git clone --depth=1 https://github.com/romkatv/powerlevel10k.git ${ZSH_CUSTOM:-$HOME/.oh-my-zsh/custom}/themes/powerlevel10k - Set as Theme: In your
~/.zshrc, changeZSH_THEMEto:ZSH_THEME="powerlevel10k/powerlevel10k" - Restart Terminal: Open a new terminal session. The
p10k configurewizard will automatically launch, guiding you through a fantastic interactive setup to customize every aspect of your prompt. It’s incredibly intuitive and fun! If it doesn’t launch, simply typep10k configure.
Bonus Tips for Maximum Terminal Productivity:
-
Custom Aliases: Beyond the aliases provided by plugins, define your own. Add them to your
~/.zshrcfile:# Common navigation alias ll='ls -alF' alias c='clear' alias ..='cd ..' # Git shortcuts alias gaa='git add .' alias gc='git commit -m' alias gp='git push'Remember to
source ~/.zshrcafter adding them. -
Custom Functions: For more complex, multi-command shortcuts, write functions:
# Create a new directory and cd into it
mkcd() {
  mkdir -p "$1"
  cd "$1"
}
Then you can just type
mkcd my-new-project. -
Explore More Plugins: Browse the
~/.oh-my-zsh/pluginsdirectory for ideas, or search for “Oh My Zsh plugins” online. There are plugins for virtually every tool you can imagine. Remember, for those not bundled, you might need to clone them into~/.oh-my-zsh/custom/plugins. -
Manage Dotfiles: As your
~/.zshrcgrows, consider using a dotfiles manager (likeyadmor a simple Git repository) to keep your configurations synchronized across multiple machines.
Conclusion: Your Terminal, Reimagined
You’ve just taken the first massive step towards transforming your terminal into a personalized powerhouse. Moving from a basic shell to Zsh enhanced by Oh My Zsh isn’t just about aesthetics; it’s about investing in a foundational tool that underpins much of your daily work as a developer or tech enthusiast.
Think about the accumulated time savings from smarter tab completion, the reduced frustration from typo corrections, and the immediate context provided by a well-configured theme. These small improvements compound over days, weeks, and years, leading to a significant boost in your terminal productivity.
Don’t stop here! The world of Zsh and Oh My Zsh is vast and continually evolving. Experiment with different themes, explore new plugins, write your own aliases and functions, and tailor your setup to perfectly match your unique workflow. Share your newfound terminal wisdom with your colleagues and friends.
Your command line isn’t just a place to type commands; it’s an extension of your mind, a workbench for your ideas. It’s time to make it truly your own. Happy hacking!